

Painted and fabric backdrops are making a big splash in portrait photography lately, and I’m absolutely loving it! They add elegance, depth, and a clean, artistic background to an image while allowing you to introduce a colour from your palette — or even a complementary shade — to enhance the scene.
Recently, I had the opportunity to collaborate with an Ottawa wedding planner on an editorial shoot. We initially planned to order a painted backdrop from a trusted and talented vendor, but unfortunately, shipping to Canada wasn’t an option. That’s when I decided to take matters into my own hands and create my own. Not only did this give me full control over the colours to perfectly match our vision, but I was also able to make multiple backdrops for the price of one — plus, I love a good DIY project!
In this post, I’ll walk you through the materials I used, my step-by-step process, and some key lessons I learned along the way. I created two backdrops — one in a neutral tone and another in a beautiful blue—so I’ll also be sharing behind-the-scenes photos throughout!
Materials Used:
- Foam Rollers
- Roller Extender
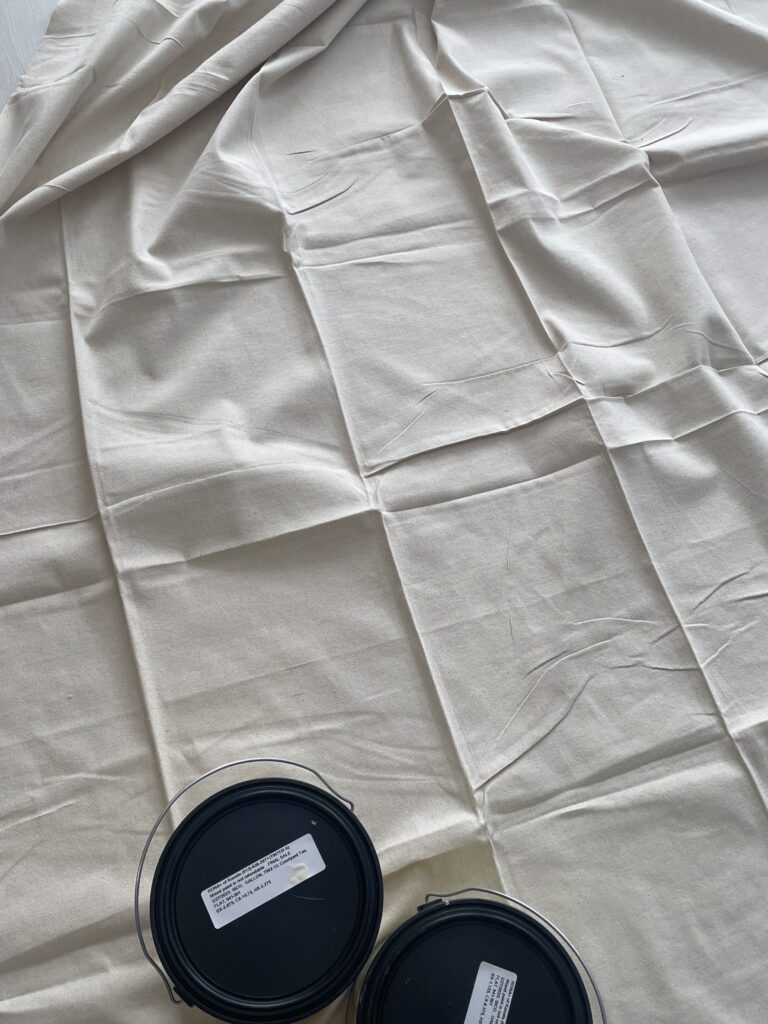
- Canvas Drop Cloth 9×12 – cut to a 9×10 – But you can use any size you want, or cut a bigger one down to any size
- Plastic Drop Cloths for Floor Protection – Tip on these down below
- Sponge Rollers – These really added that amazing texture I was looking for
- Sico Flat/Matte Paint – But any flat/matte wall paint will work
- Gesso
- PVC Pipe for Rolling, Transportation & Storing
- Duct Tape
Preparing the Surface
Choosing the right workspace is key. You’ll need a hard, open space where you don’t mind making a bit of a mess. A stable floor ensures smooth paint application and prevents wrinkles in the fabric.
I started by cutting my drop cloth to size. Thankfully, one of the fold lines was already the perfect length, making trimming easy. I attempted to iron out the wrinkles, but it was taking too long — so I pulled out my steamer, which worked much faster.
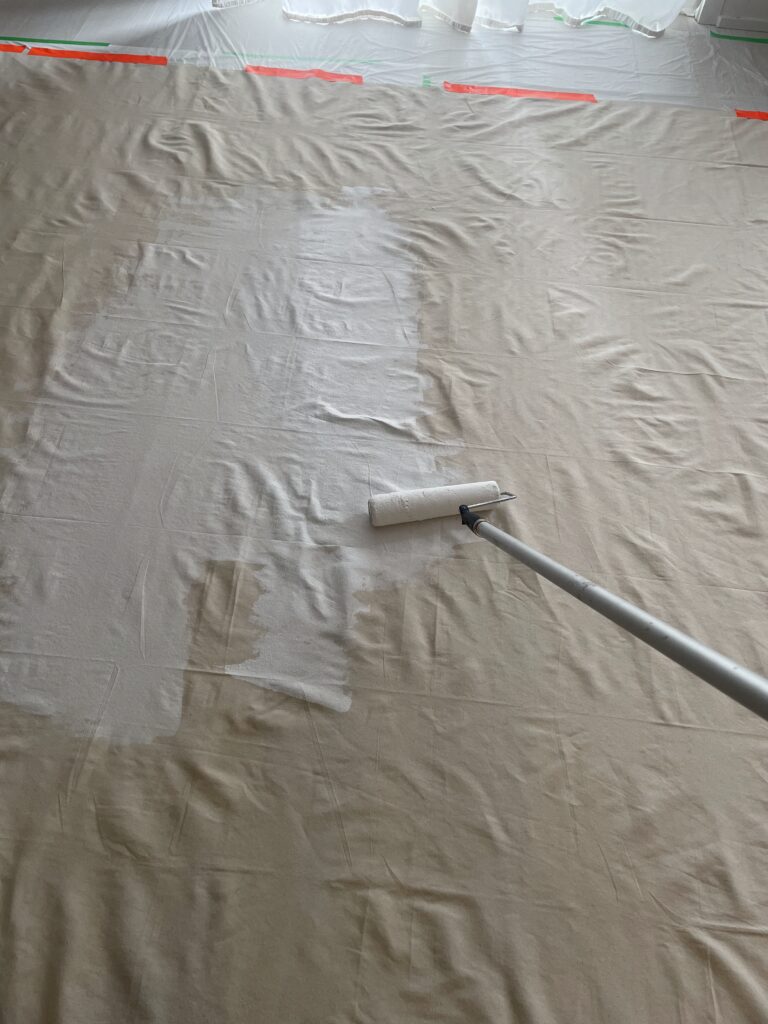
Next, I laid out plastic drop sheets in my living room and secured them with duct tape. This was essential for protecting my floors (though, as you’ll read later, I still had a small paint mishap!). Then, I stretched the canvas drop cloth over the plastic, pulling it as taut as possible before taping it down.
Priming the Surface
For the primer, I mixed Gesso with water for easier application. My initial mix was 75% water to 25% Gesso (3L water to 1L Gesso), but in hindsight, it was a bit too thin. I’d recommend a 70/30 or even 60/40 mix for better coverage.
If you don’t have Gesso, Mod Podge or white paint diluted with water works too! The key is to keep it thin enough to spread easily but thick enough to create a proper base.
I applied two coats of the primer mix, allowing about 30 minutes to an hour of drying time between layers.
Painting the Surface
For the first paint layer, I mixed 60% water with 40% paint (3L paint to 2L water). Again, I found this slightly too watery and would recommend a 50/50 split instead, adjusting as needed.
Using a foam roller, I applied the first coat in multiple directions to avoid streaks and add some texture. I repeated this process for three layers, letting it dry overnight.
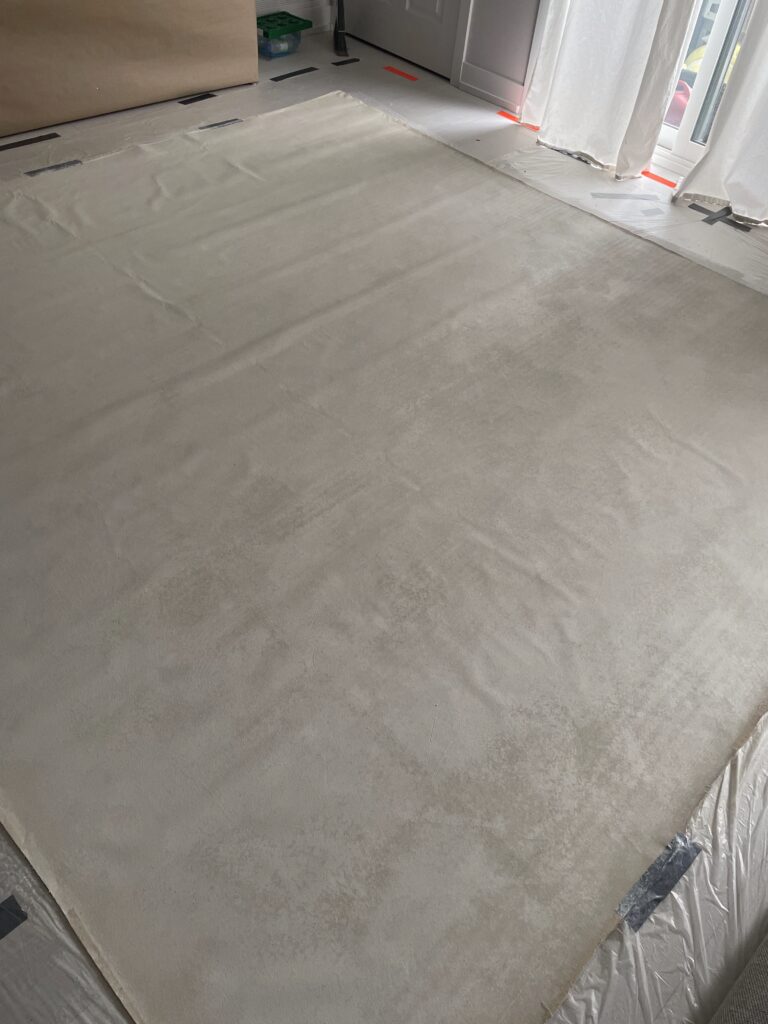
By evening, I realized that while I had some depth, the backdrop still lacked that rich, textured look I wanted (which you can see in the photo below). After some research, I found that using a sponge roller could help achieve a more painterly effect.
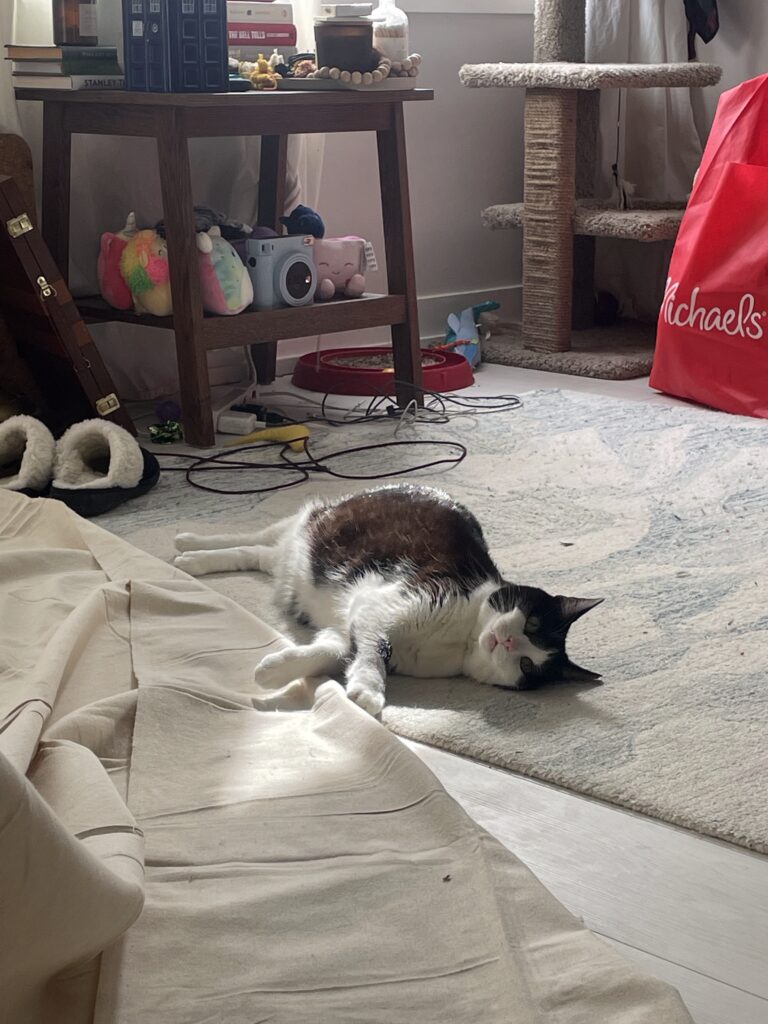
I ordered some from Amazon, gave my cats a break from being locked in the bedroom, and resumed the project once they arrived.
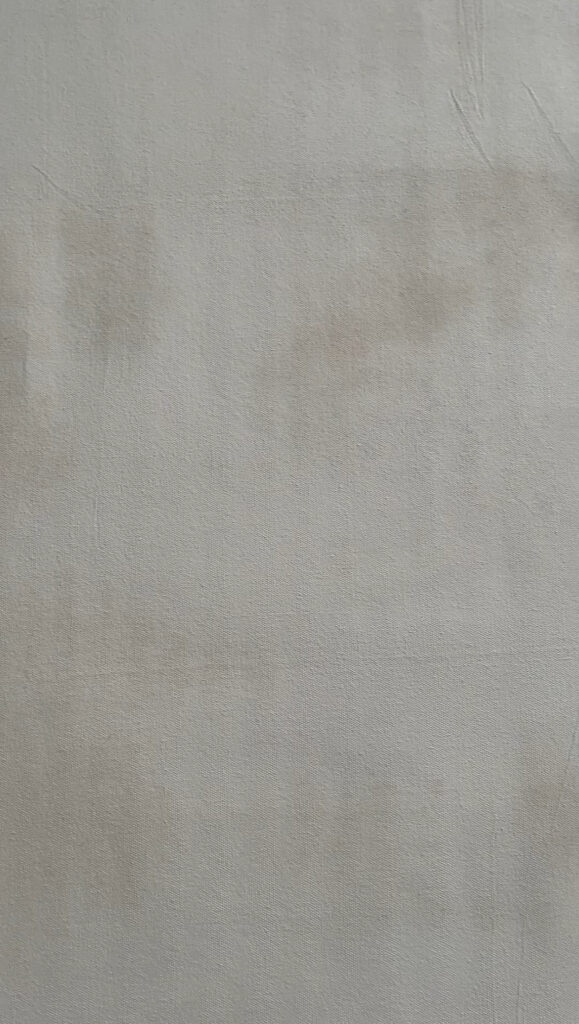
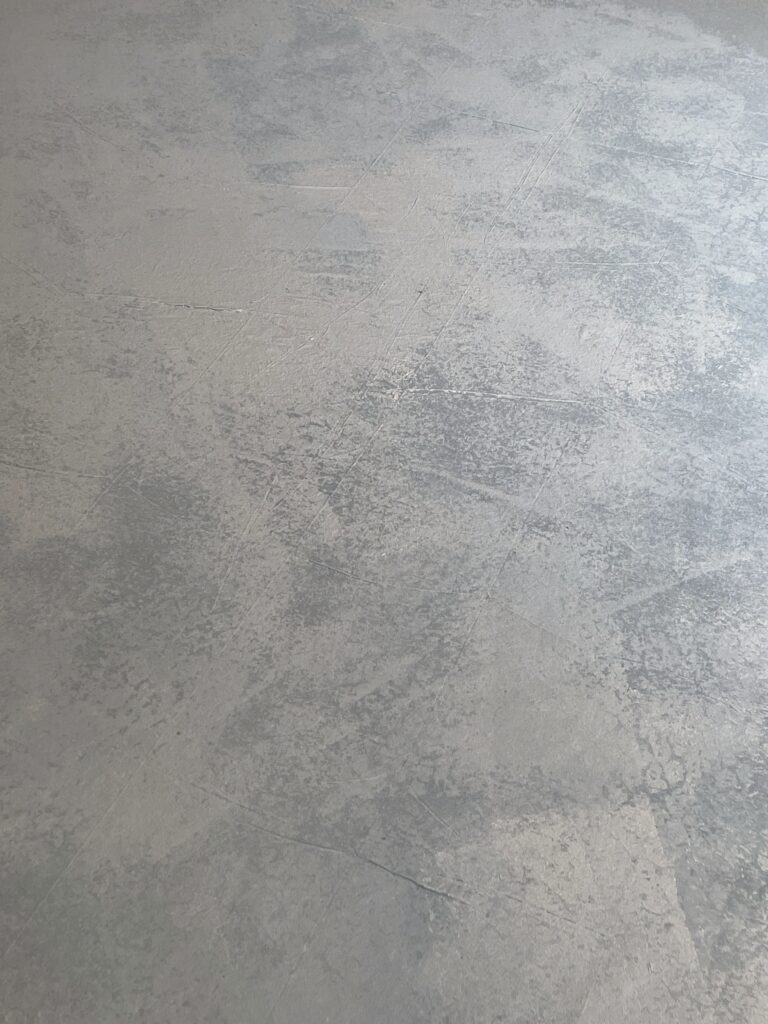
This time, I skipped adding water to the paint for a thicker, more textured application. I used the sponge roller in multiple directions, blending out any roller marks as I went. I also layered a lighter shade on top to add more depth. Take a look at the video, and photos below to see how much beautiful texture these rollers really added.

I repeated the same process for the blue backdrop, minus the pause for shipping! Once everything dried, I carefully rolled up each backdrop onto a PVC tube for easy transport and storage. I love how they turned out, and I can’t wait to use them in the upcoming shoot and future weddings!
Things I Learned Along the Way
- Protect your floors well! My medium-weight plastic drop sheets allowed some paint to seep through, so I’d recommend heavy-duty sheets or layering multiple for extra protection. I had to scrub some blue paint off my floors afterward.
- Use sponge rollers sparingly. They add beautiful texture, but a little paint goes a long way. Apply lightly and use pressure to smooth out roller marks.
- Paint in multiple directions. This prevents streaks and creates a more organic, textured look.
- Be mindful of water ratios. Too much water can dilute the color and reduce depth, so adjust as needed.
- Sponge rollers don’t last forever. They tend to break down after a while, so you’ll need to pick off small pieces as you go. Once dry, any leftover bits can be easily brushed off.
- Canvas tightness helps with wrinkles. Stretching the fabric tightly while taping it down can minimize wrinkles, but it won’t eliminate them entirely. Over time, the fabric may loosen, so you might need to reinforce the tape.
- Depth & texture comes from paint colours. I found with the neutral backdrop that I didn’t have enough difference between my two colours, so you don’t see as much detailing in the texture from a distance.
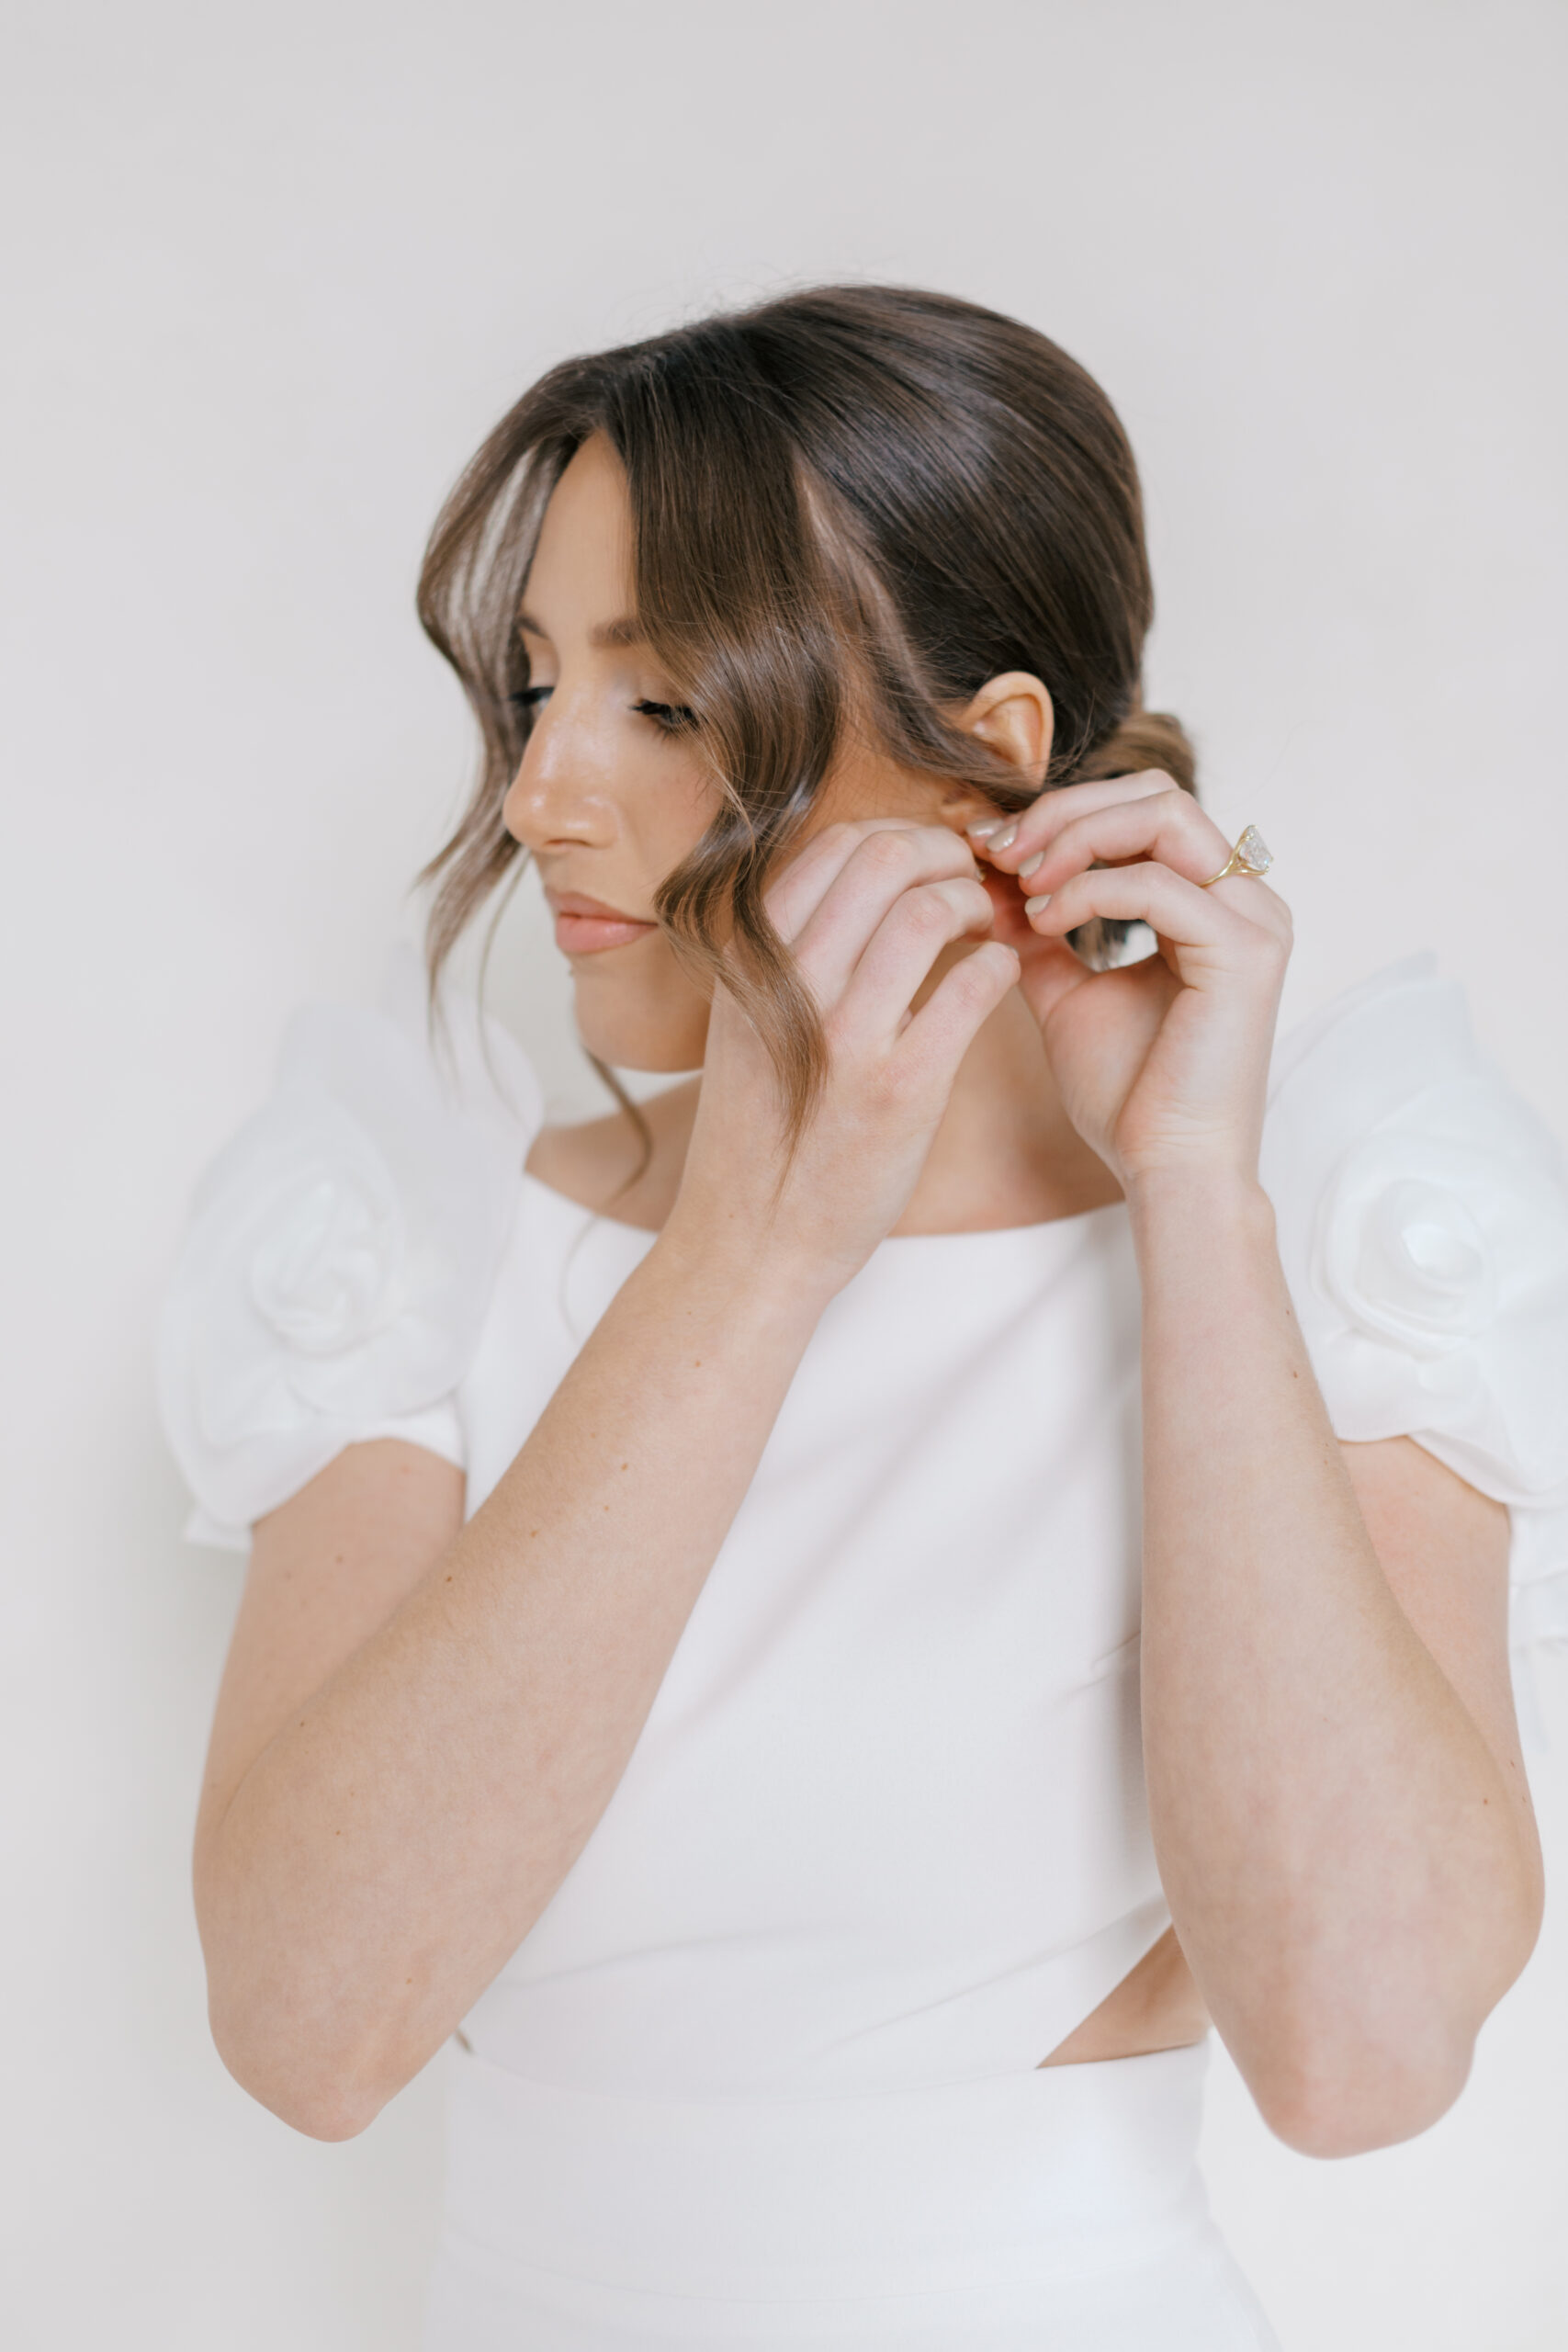
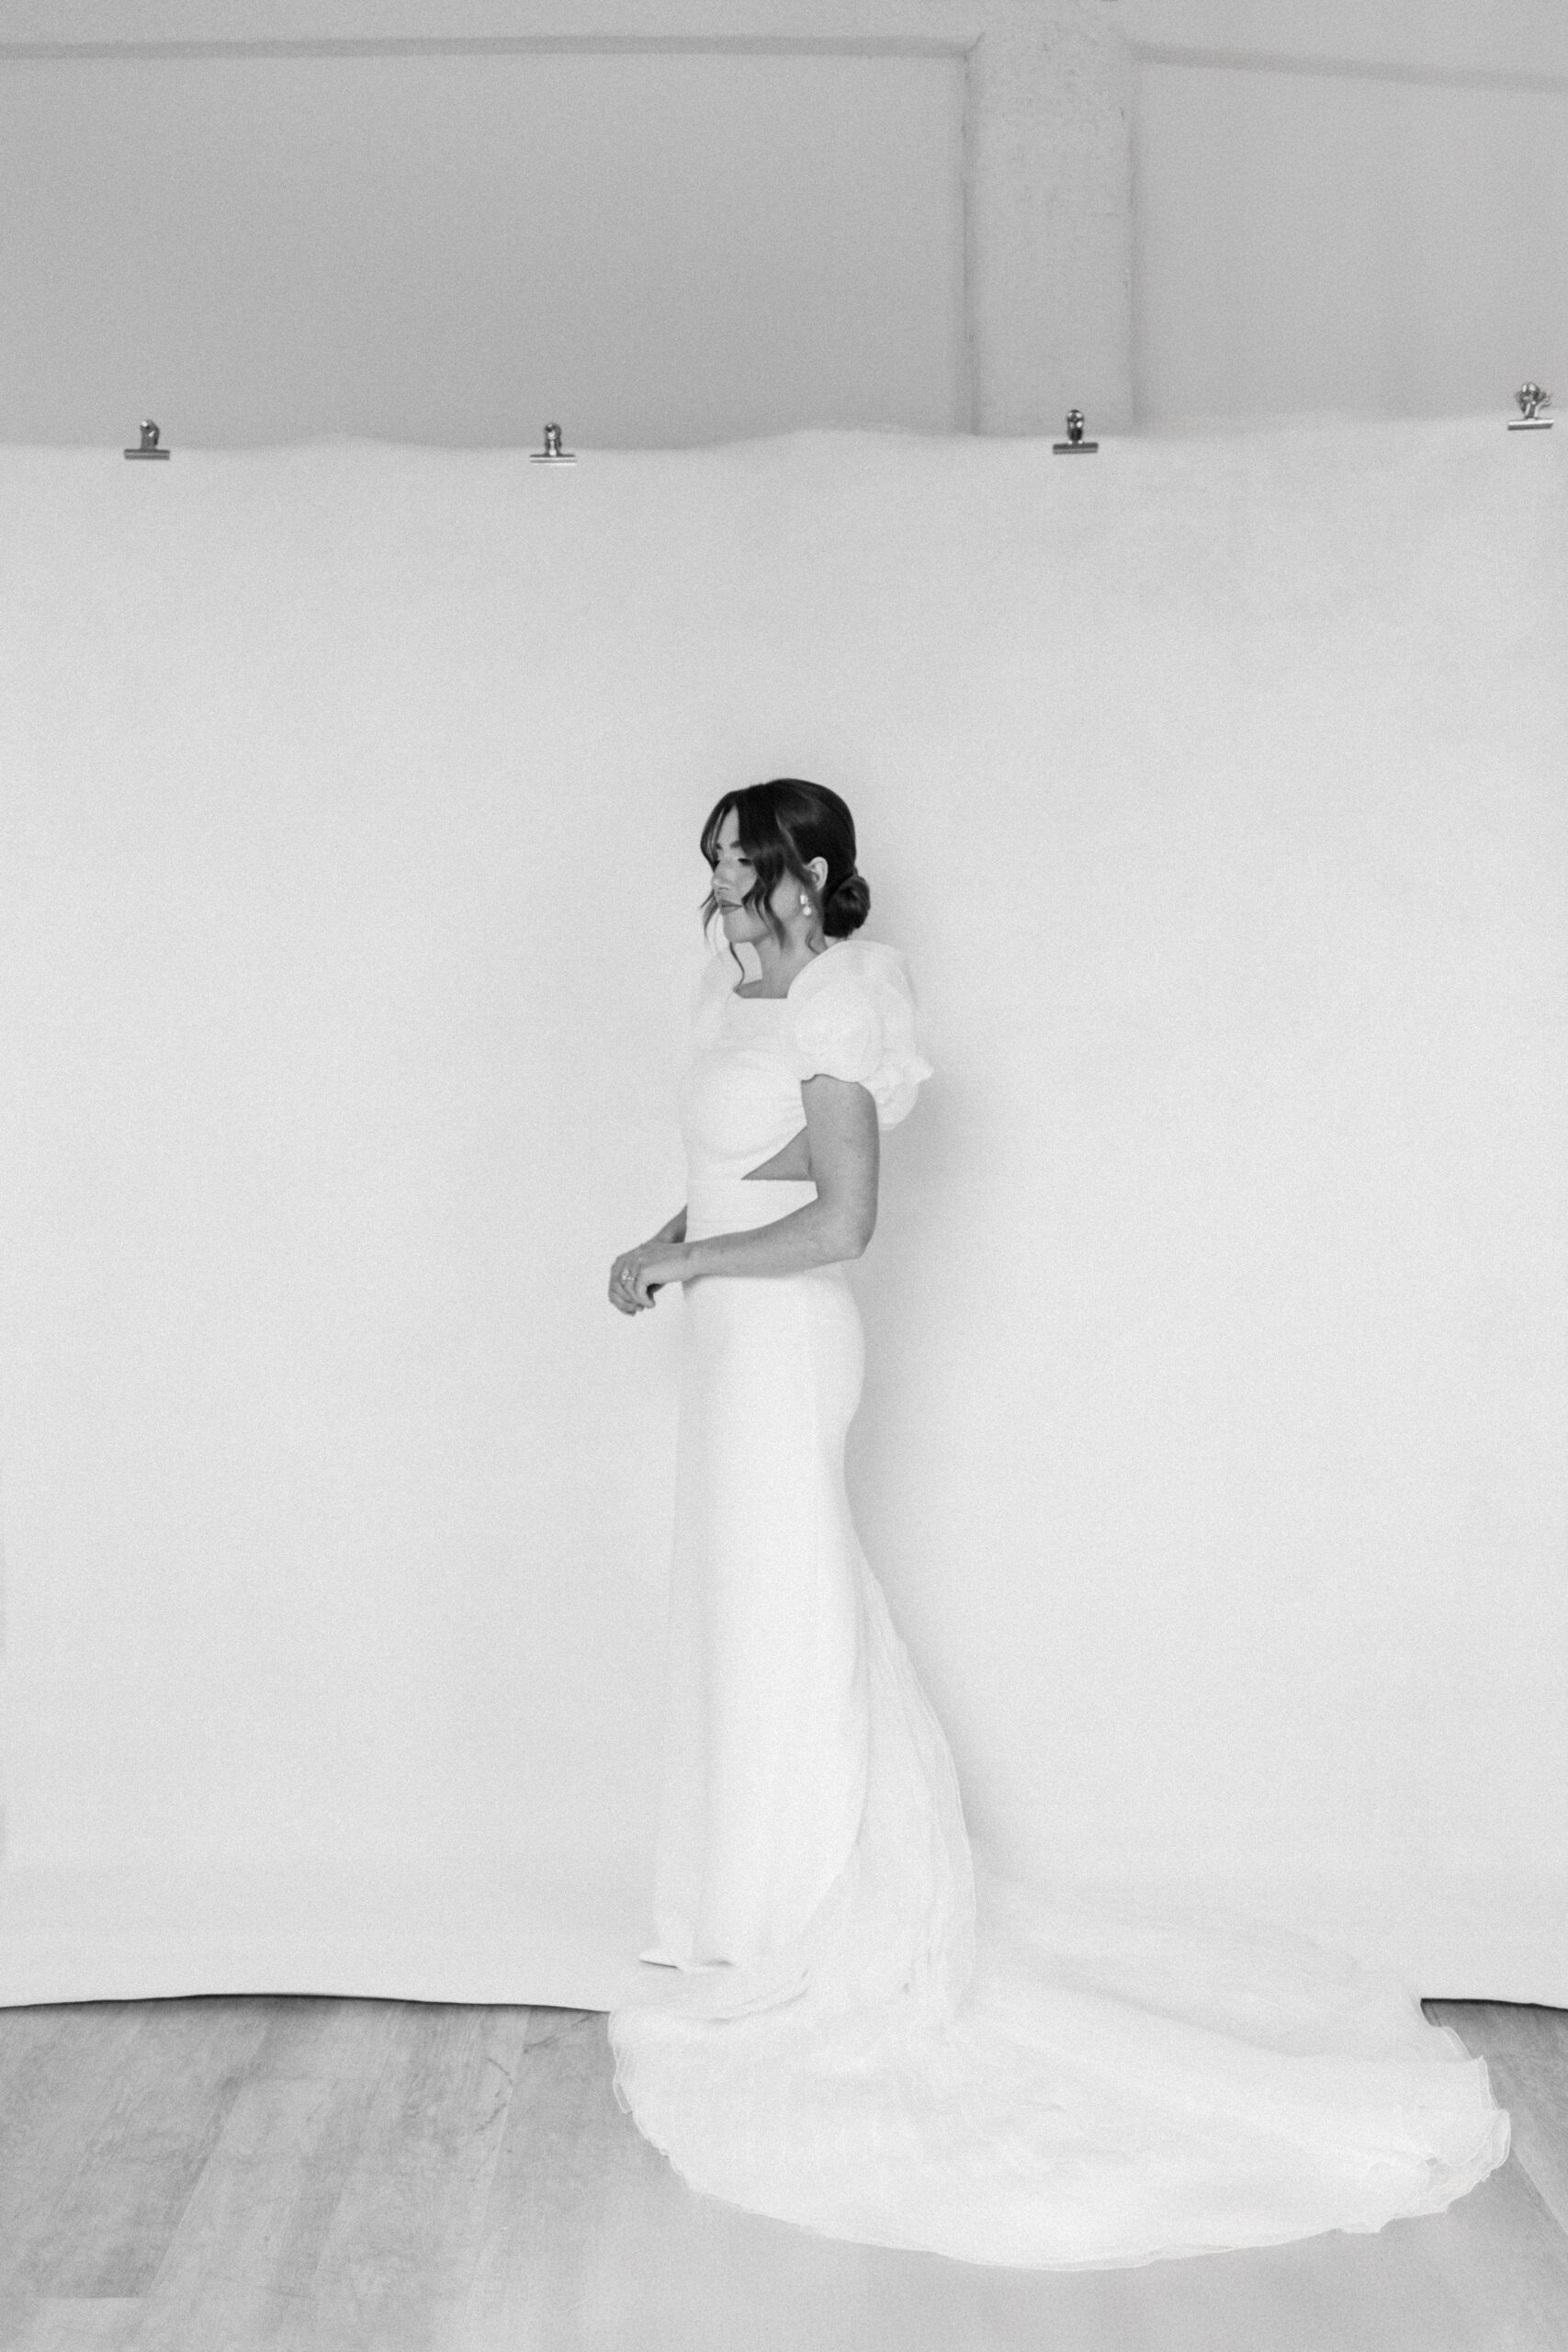
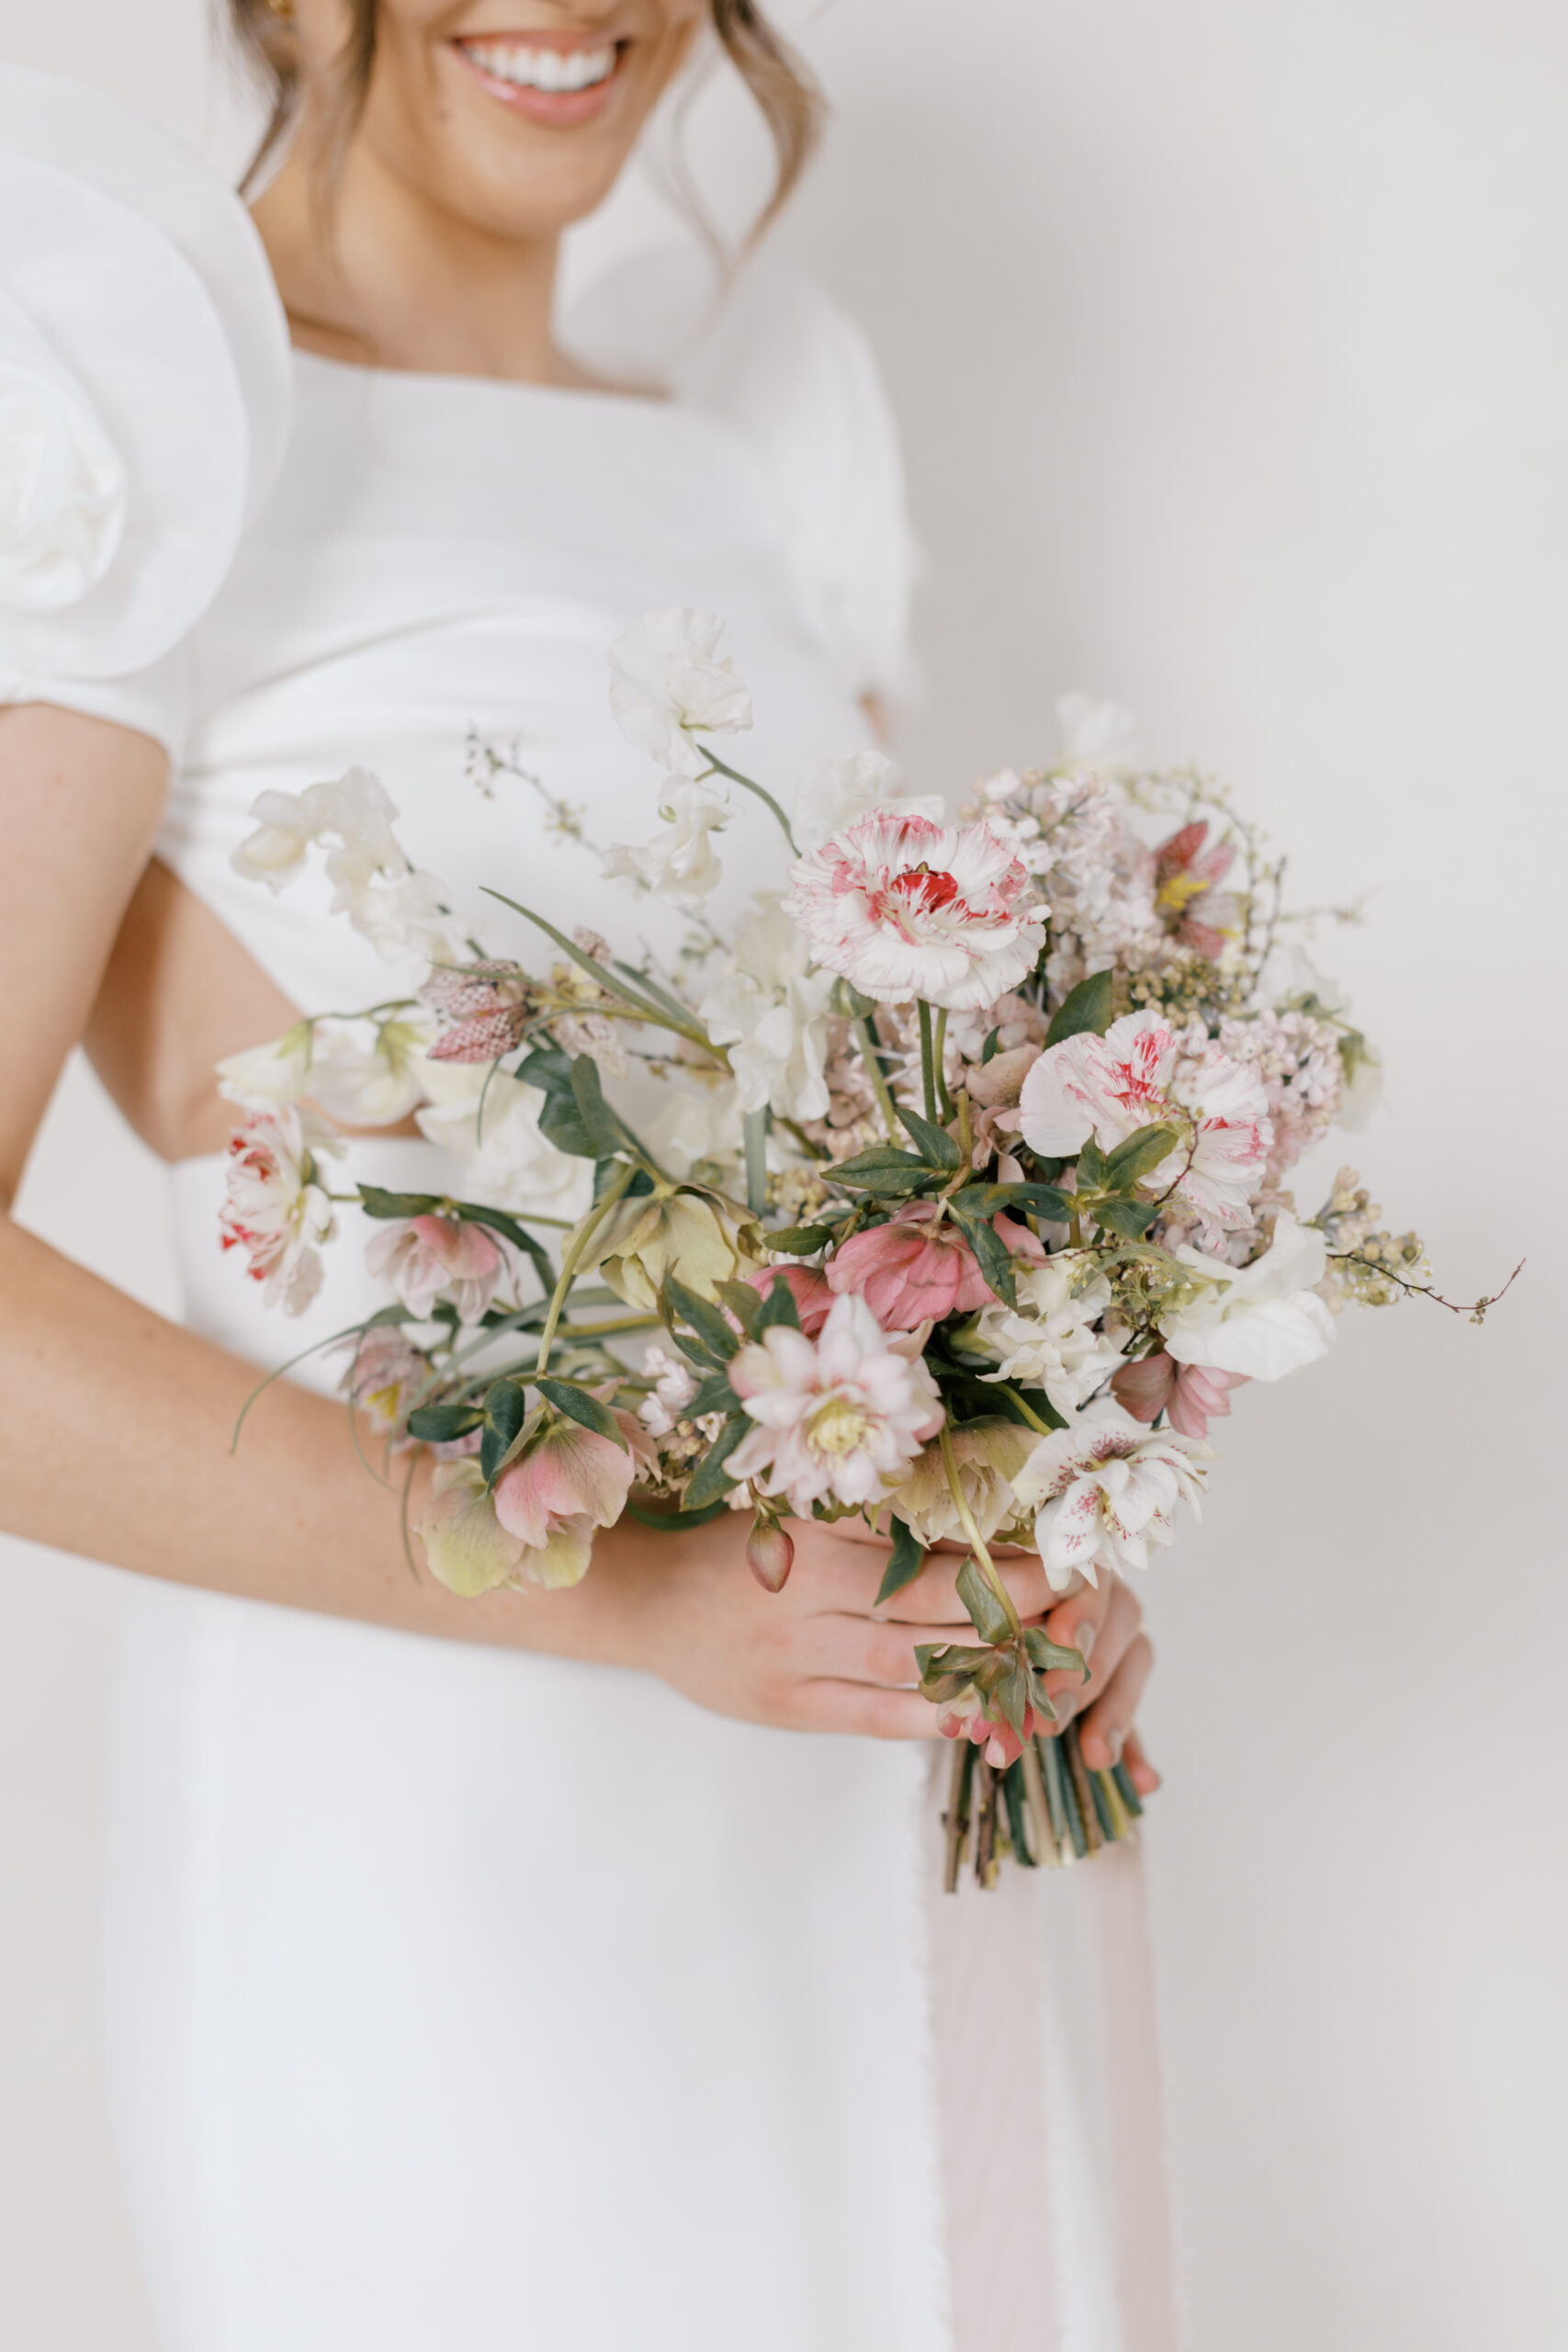
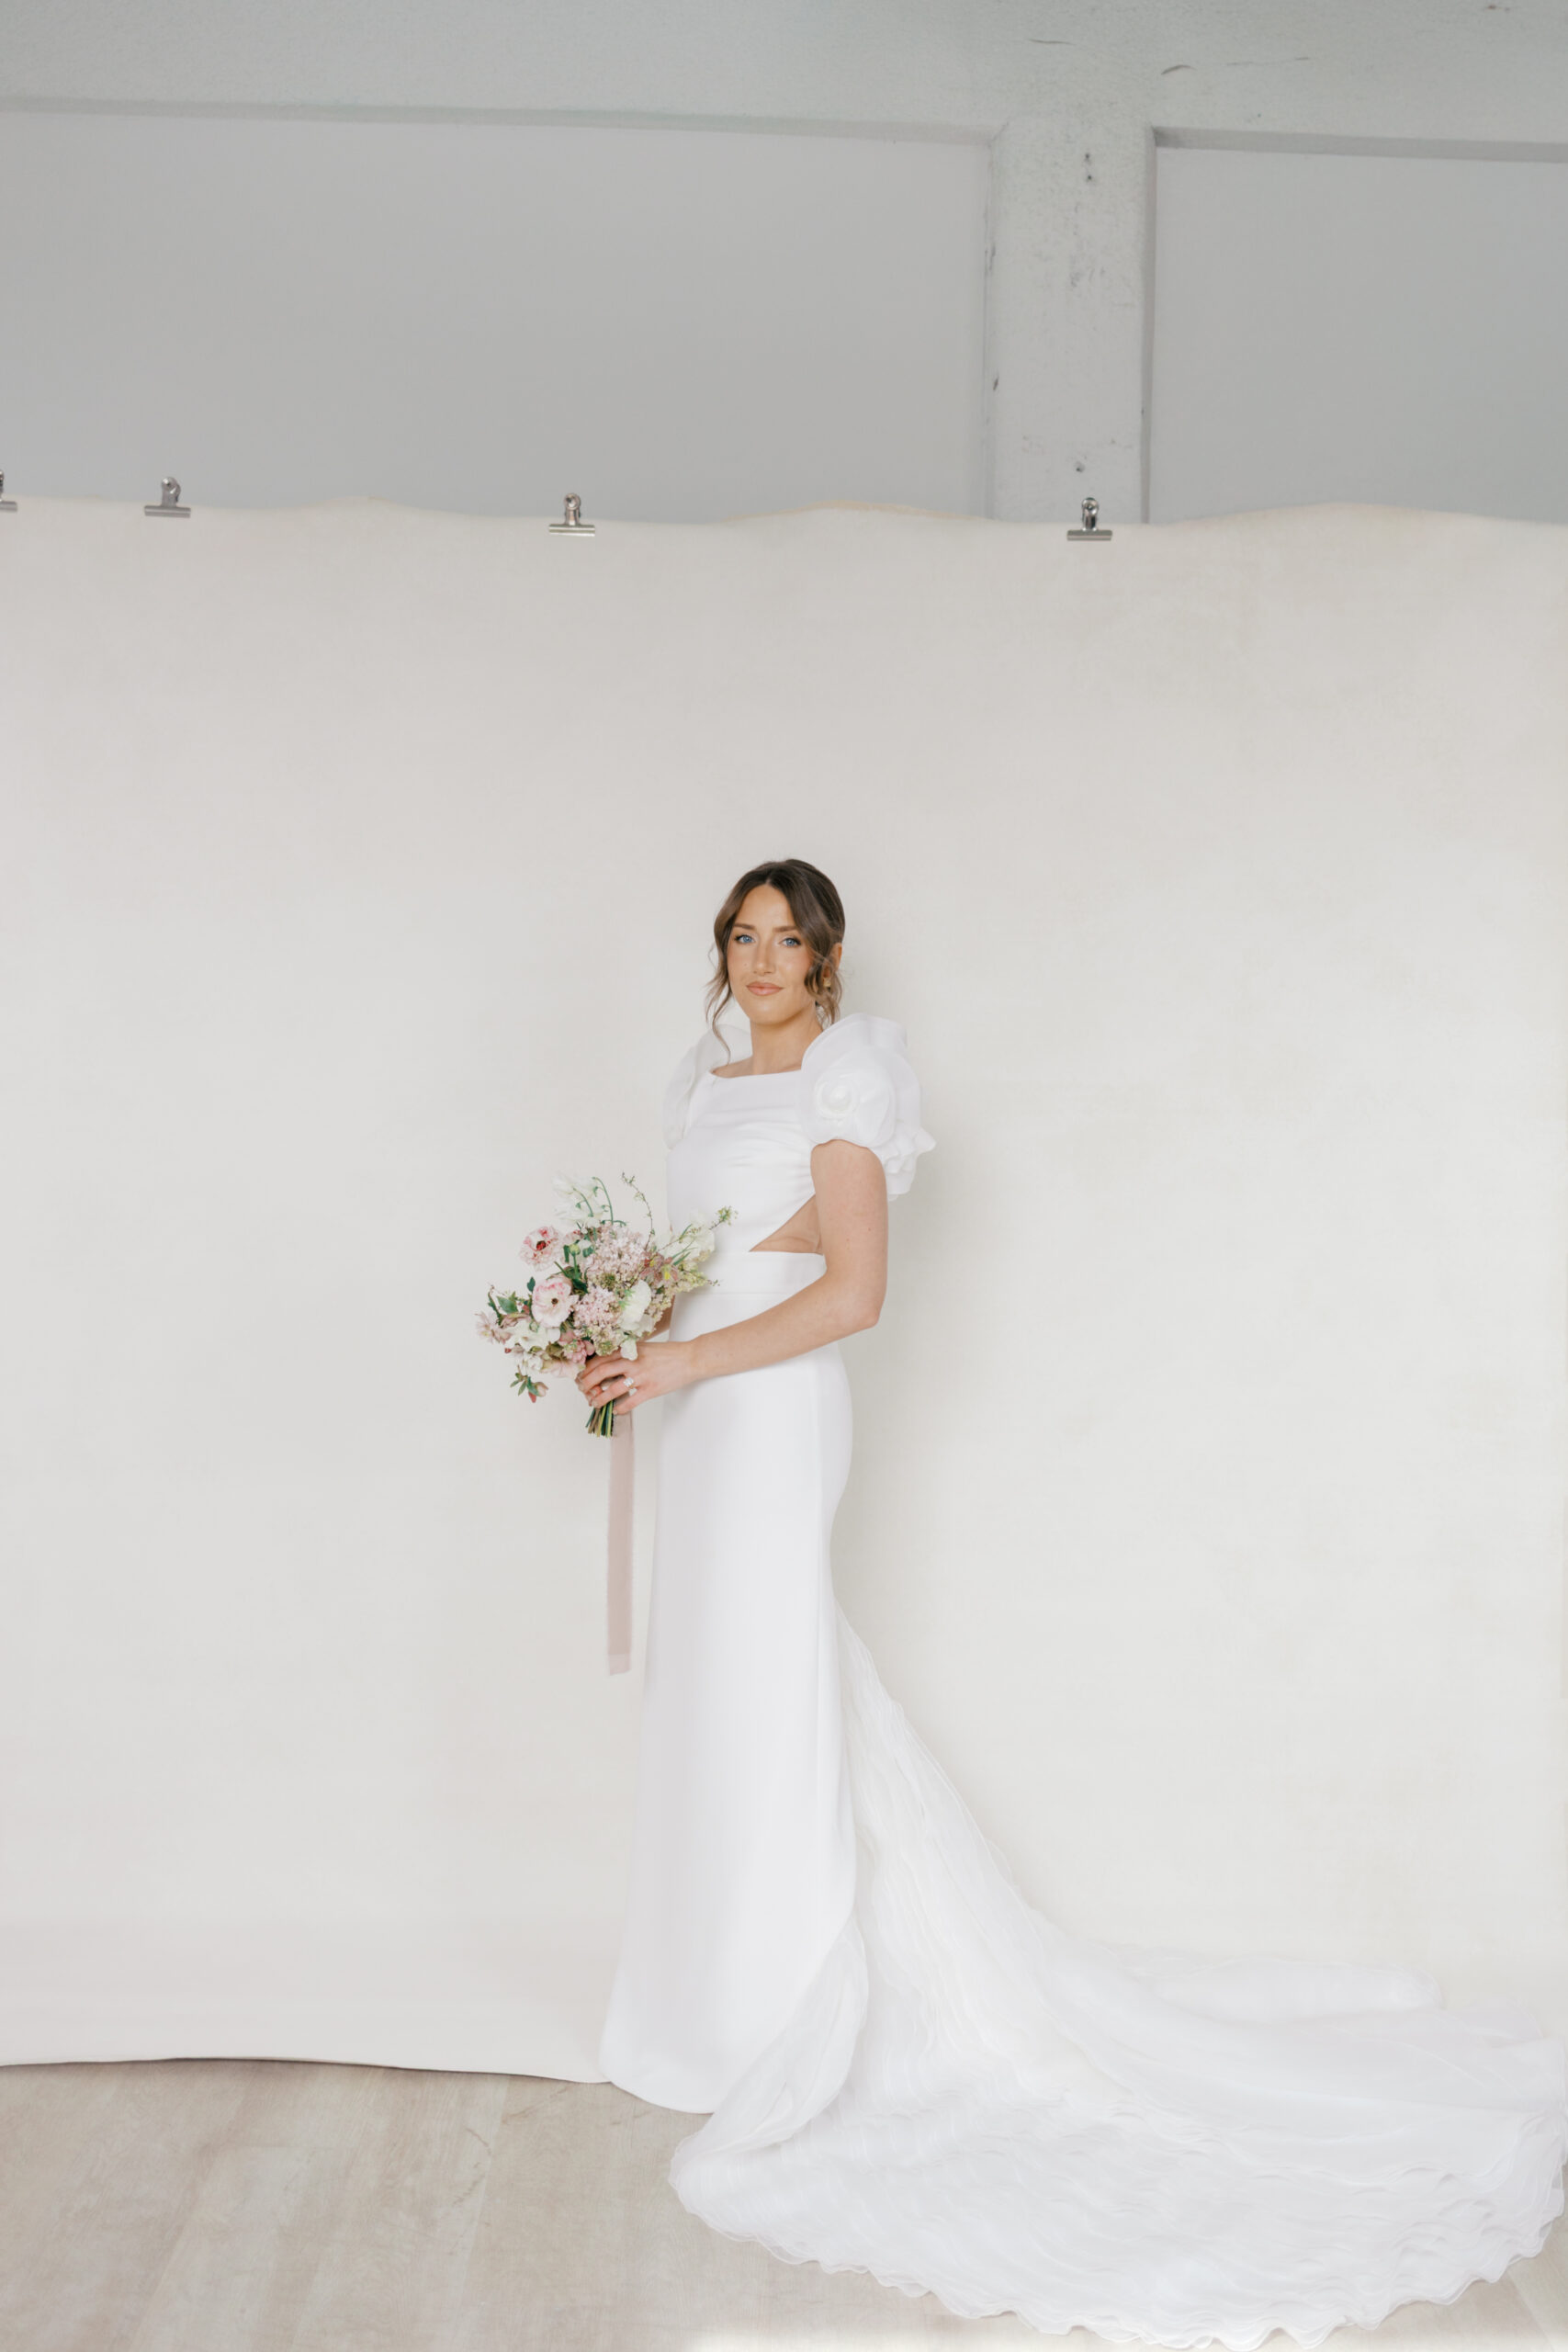
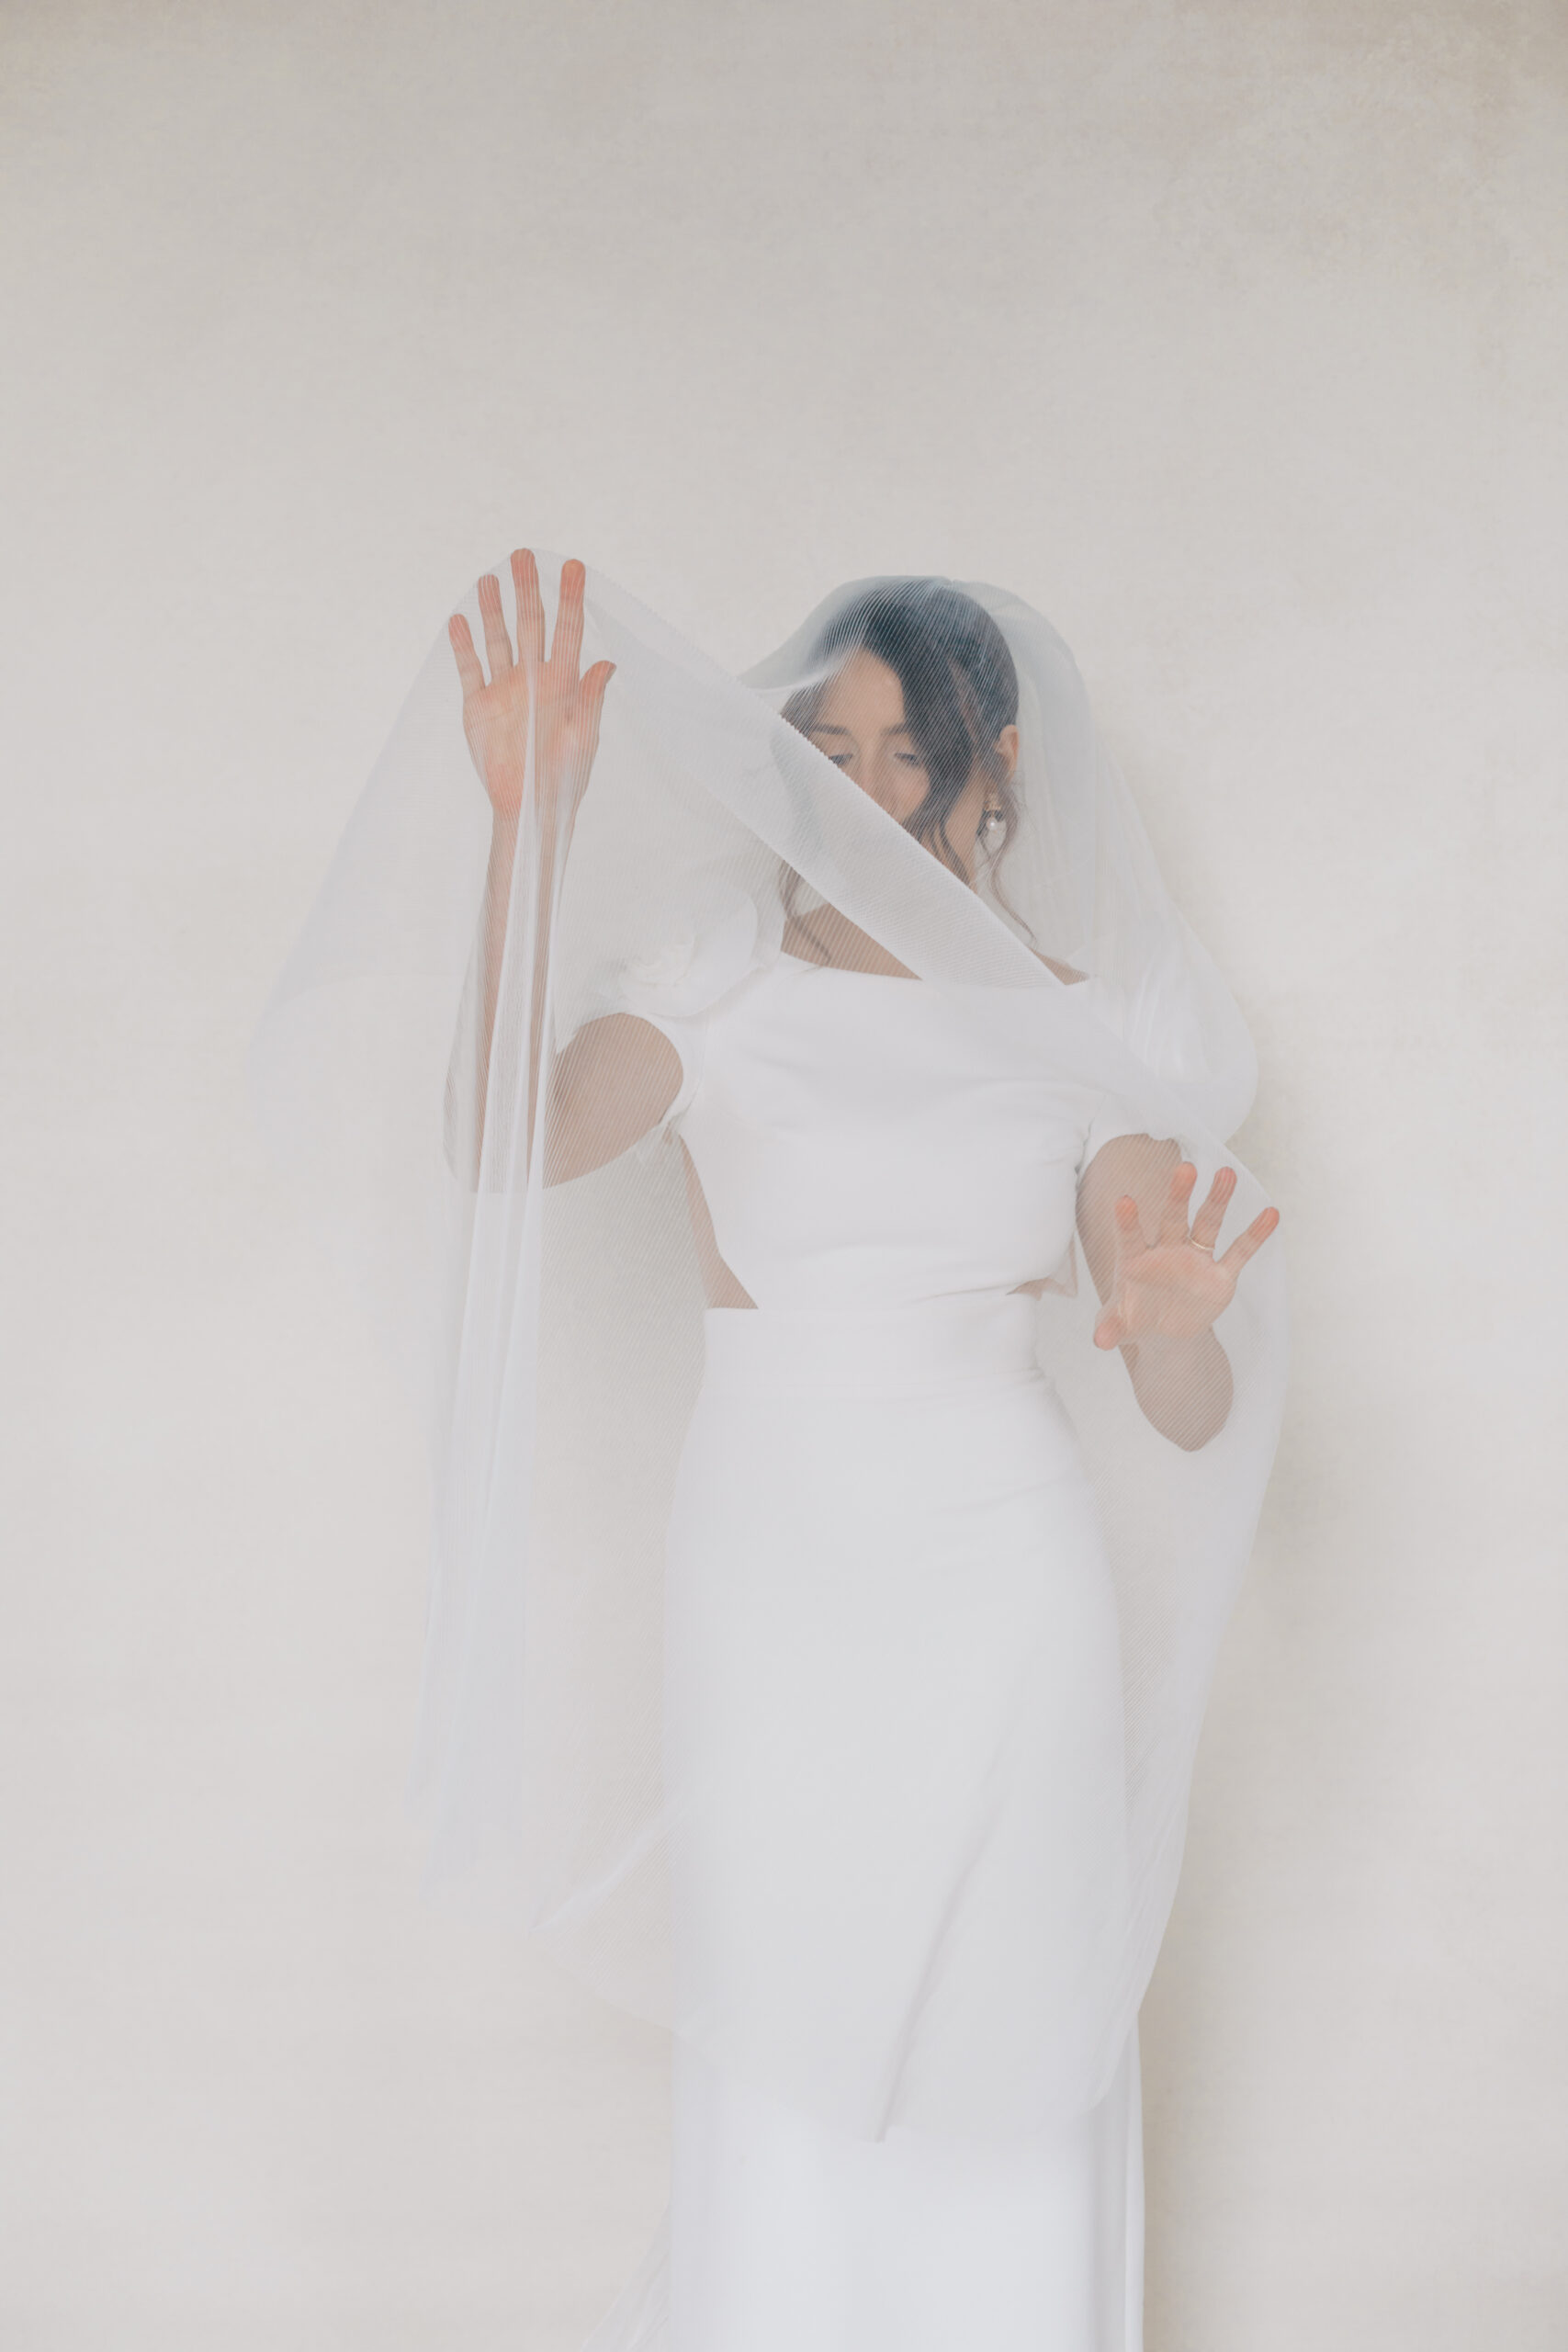
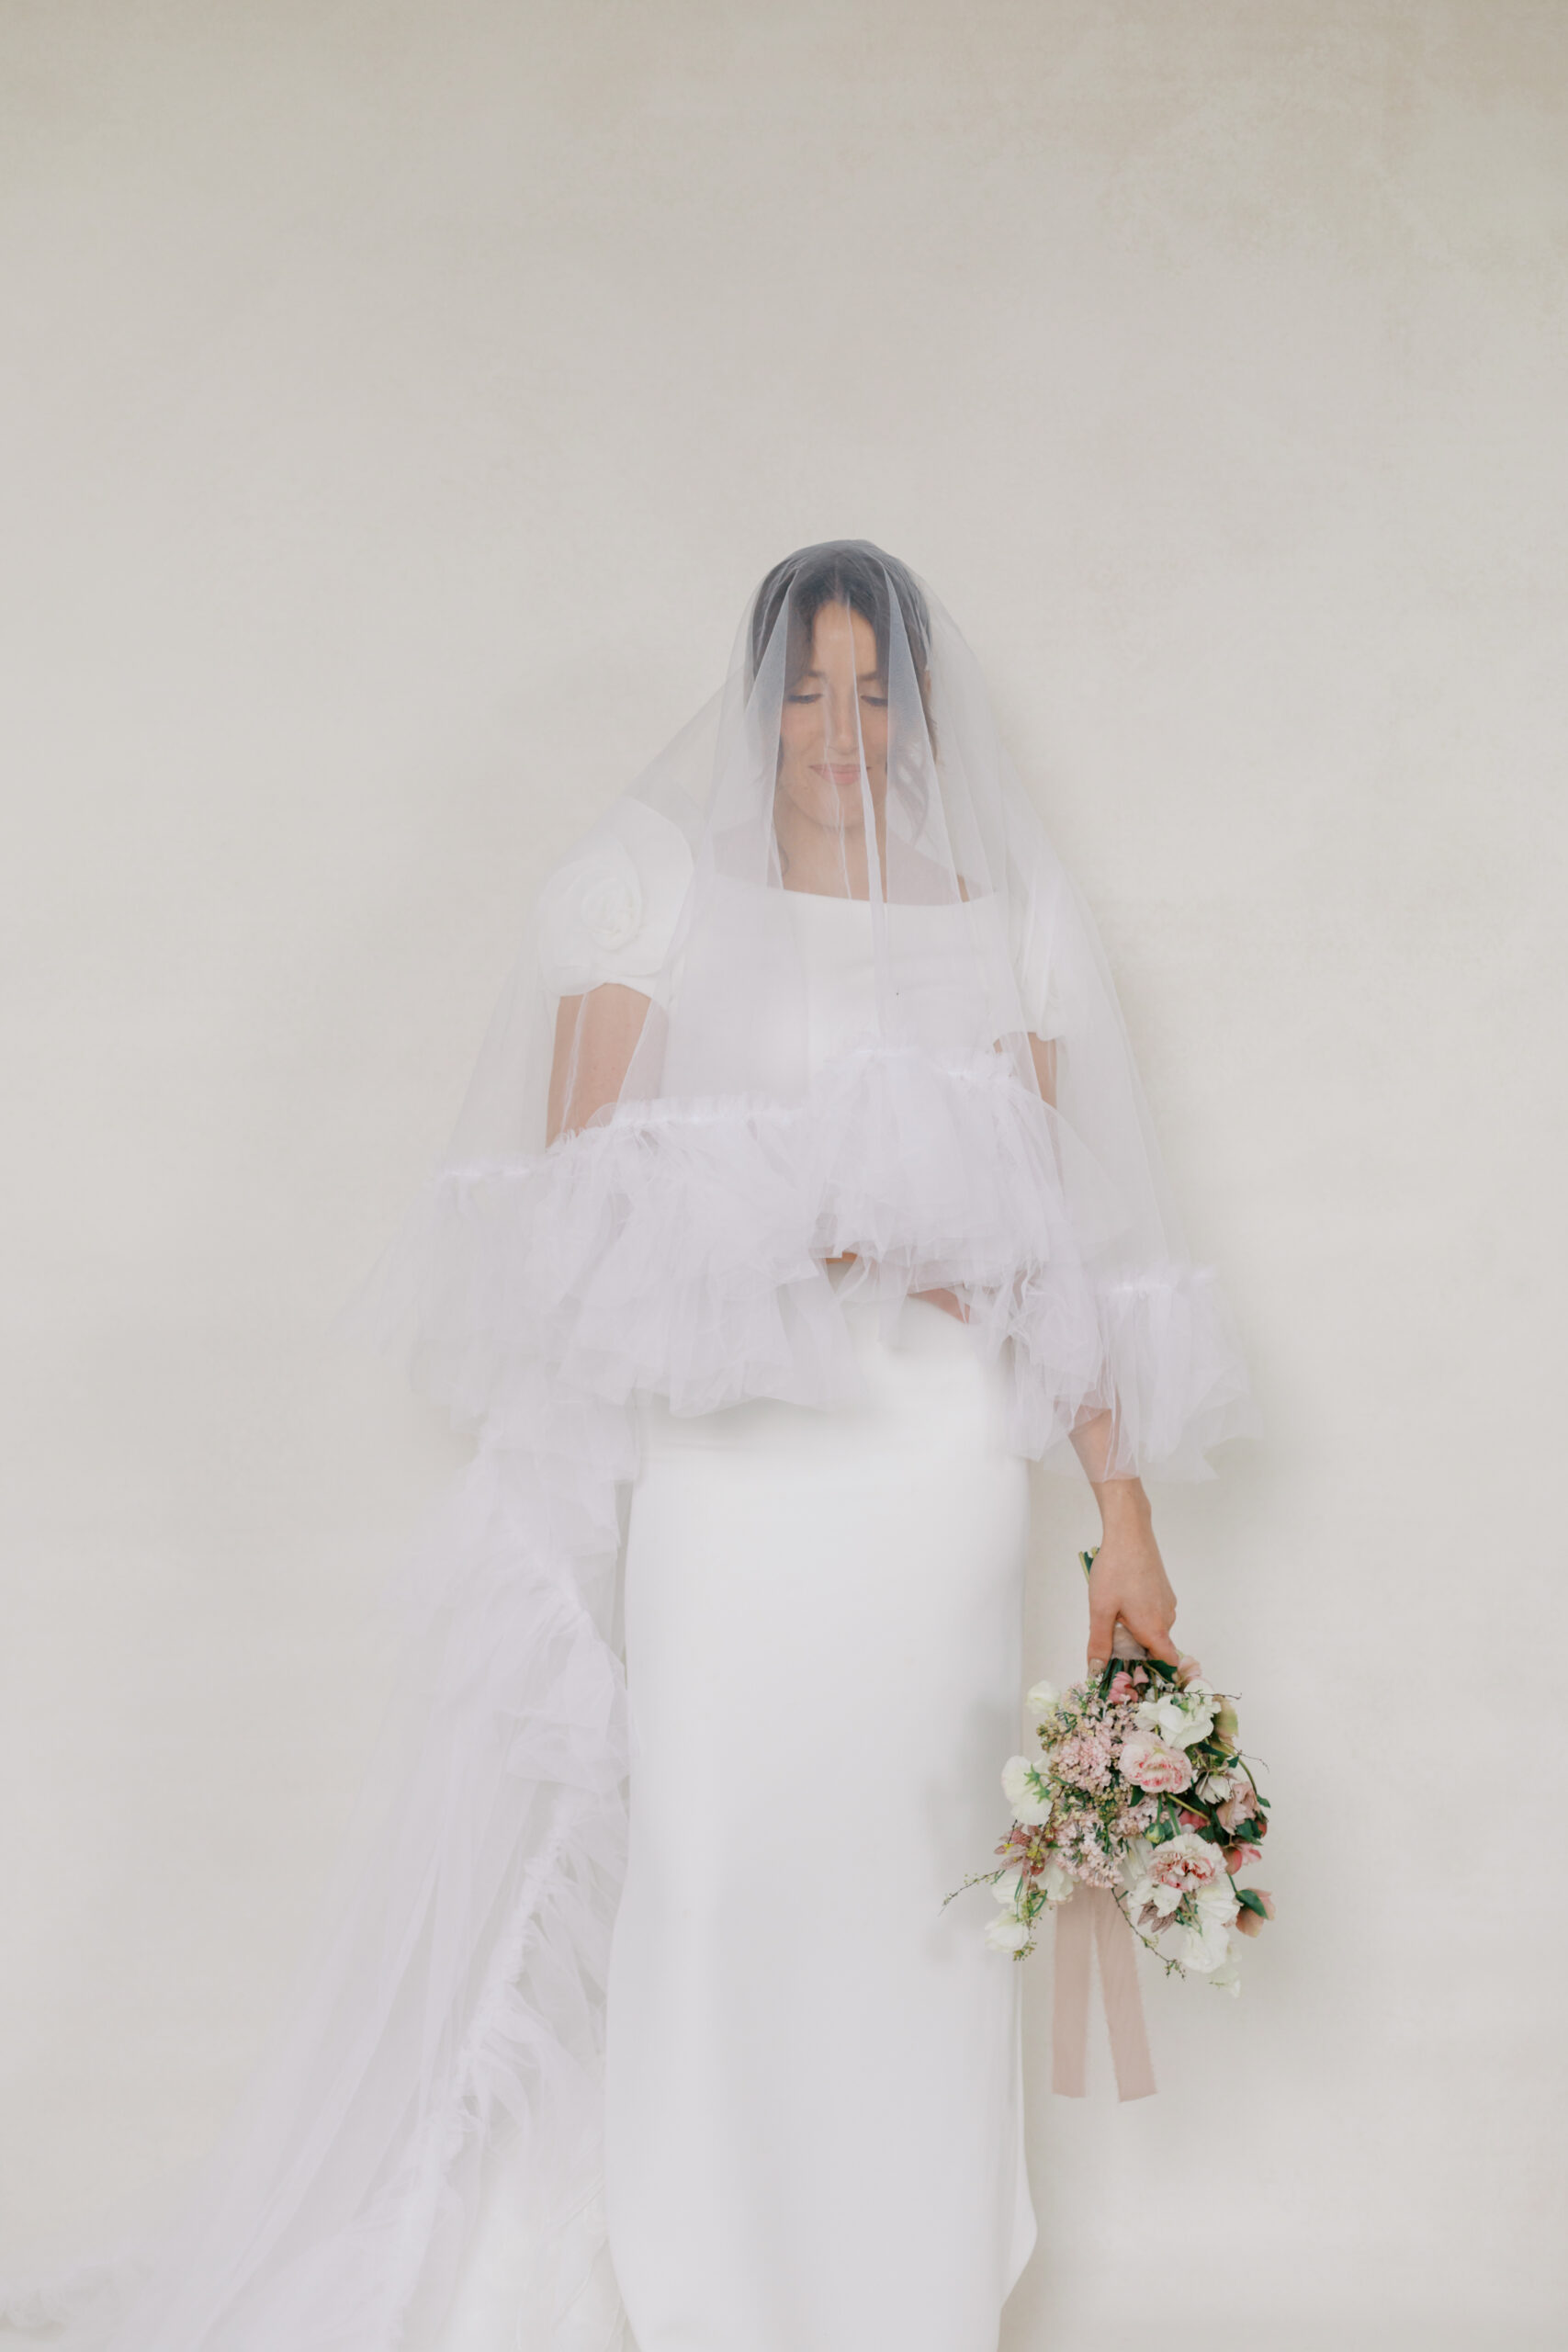
If you have any questions about the process, feel free to ask in the comments. I’d love to see your DIY backdrops if you decide to make your own — have fun experimenting! Below you’ll find some images from a recent editorial I did with the neutral backdrop. I hope to use the blue one soon!


+ COMMENTS
add a comment